Hello Everyone!
As I promised in my previous entry, I made a tutorial as soon as got my sewing machine back. So here it is!
Firstly, a short history. Backpacks are considered to be for pupils only. Well, I wanted a backpack! I didn't want it to look like a backpack for school, so I made it from white linen (actually, I cut linen pants :D ), medium size and very minimalistic.
Before going to the tutorial part, lets see what are we going to make:


Attention: it's my first tutorial, so please comment if you find any mistake. There many ways how to sew a backpack, I show the way I did it :)
What you need:
-Fabric for outside and different fabric for inside (I used old linen pants, so I can't say exactly how much fabric you need);
-Thread, matching with a fabric;
- Zipper (22 cm length);
- 2 press buttons (if you don't have it, you can use regular buttons or don't use it at all)
How to make a pattern:

Details explained:
A - backpack bodice, size 66x22 cm (one piece, red lines shows how the extra bottom and front pockets going to be attached);
B - side detail, size 30x6 cm (two pieces);
C - strap, size 60x5 cm (one strap has one detail,cut two straps);
D - handle, size 18x5 cm (one detail);
E - extra bottom, size 18x22 cm (one piece, this part strengthens the bottom of the bag and also decorates the bag);
F - front pocket, size 16x22 cm (one detail, sorry that in the drawing this details looks smaller :));
G - flap, size 19x22 cm (two pieces, round the corners at bottom of this detail);
H - zipper part, size 4x28 cm (two pieces, this detail is for 22 cm zipper + bag depth, which is 6 cm = 28 cm).
Cut the required amount of details from the outside fabric. Don't forget to leave fabric for seams (about 1,5 cm)!
For the inside, cut: one detail A, 2 B details and a pocket in a size you want (I cut size 11x14 cm).
How to gather everything:
Step 1: Pocket

Take the pocket detail (F). Fold the top (one long edge), secure with pins and make a seam.

Mark the place your pocket starts: take the bag bodice (detail A, right side facing up), at the long edge mark 8 cm and 24 cm (mark at 8 cm is the top of the pocket, mark at 24 cm is the end of the pocket).

Put the pocket on the bodice at the marked places and pin. Put pins in the middle of the pocket - you will make a seam here and have 2 pockets this way.

Sew sides and the middle of the pocket. Don't sew the end of the pocket yet.
Step 2: Extra bottom

Take the extra bottom (detail E), put it on the pocket wrong side up. Pin one bottom edge to the end of the pocket. Sew.


Make two seams.

Put the bodice with all the details away.
Step 3: Flap
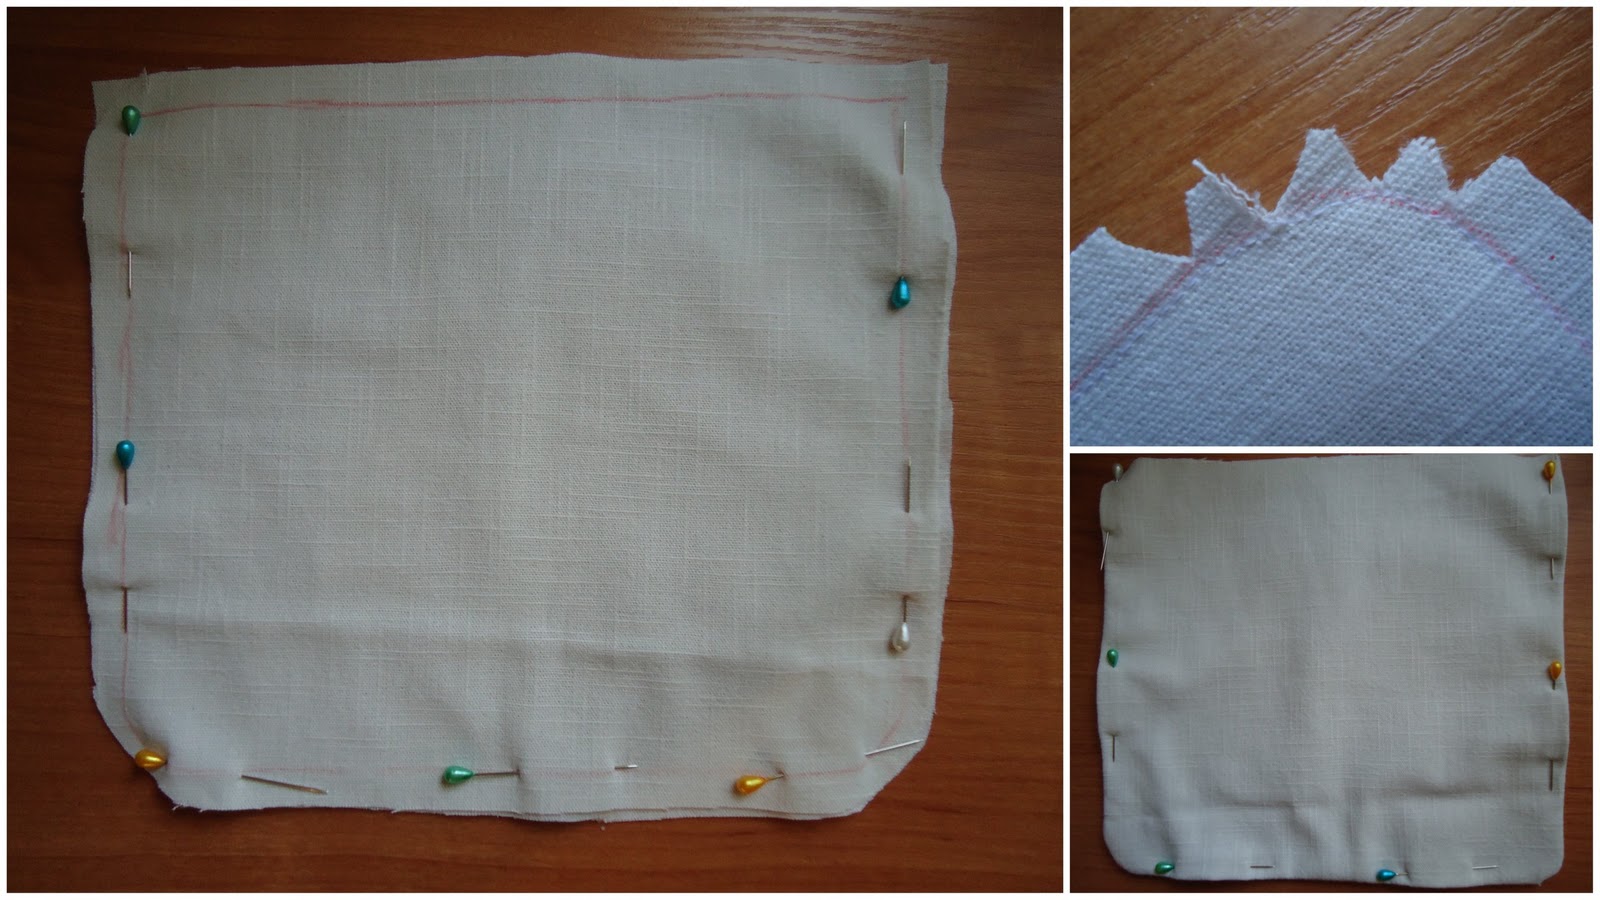
Take both flap details (detail G), put the together (wrong sides outside), pin them together and sew (don't sew the long edge). Make triangle cuts where the round corners are (in this way, when we turn them inside out the corners are nicely round). Turn the flap inside out, secure sides with pins.

Put the flap away.
Step 4: Straps and a handle

Repeat this step to make a second strap and a handle.
Put these details away.
Step 5: Zipper detail


Put the detail away.
Step 6: Inside

Put the detail away.
Step 7: Ironing
Iron all the details you've made so far: this will give a nice finishing. Tipp: I always sprinkle little water on the fabric when ironing and then iron it dry - this gives extra finishing touch.
Step 8: Attaching straps, a handle and a flap


Attach the bottom part of the strap with a 45 degree and cut the unnecessary fabric . Make seams. Repeat with another strap.


Step 9: Sides


Step 10: Zipper part

Step 11: Attach inside with the outside


Step 12: Finish
Push the lining to the inside of the bag. Iron the top of the bag. Put the press buttons at the end of the flap and pockets.
Congratulations, you have finished a backpack! :)
P.S. if you don't like the size or the details, you can always change them! They are just guidelines :)
It's a really cute little bag, good work!
ReplyDeleteAnonymous, thank you! It was a fun and quick Sunday project :)
ReplyDeletewow! Thanks to you I will have nice time with my sewing machine this weekend. Thank you once again.
ReplyDeleteA time with a sewing machine is always nice! Please share the results if you try this bag :)
DeleteGreat!Thanks very much for an advice! :)
ReplyDeletexx
cute!
ReplyDelete